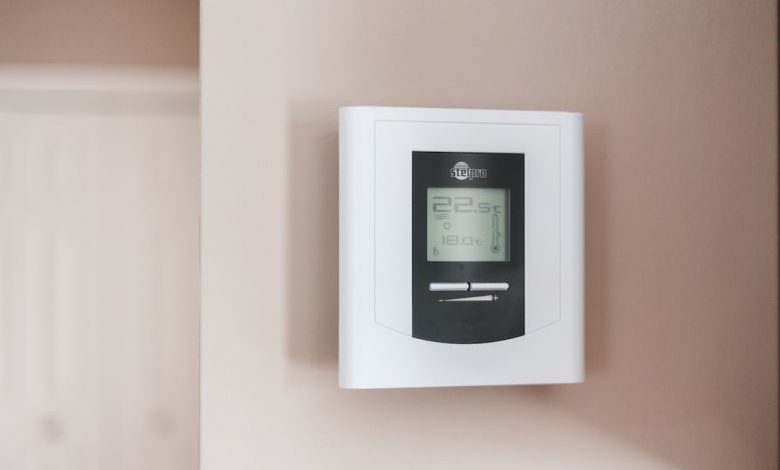
How Do I Install a New Thermostat in My Home?

Upgrading your thermostat is a great way to improve the energy efficiency of your home. With new smart thermostats on the market, you can easily control the temperature of your home and save money on your energy bills. If you’re wondering how to install a new thermostat in your home, follow these simple steps.
Step 1: Choose the Right Thermostat
Before you start the installation process, it’s important to choose the right thermostat for your home. Consider factors such as the type of HVAC system you have, the features you want, and your budget. Smart thermostats are a popular choice as they offer advanced features like remote control and learning capabilities. Make sure to check the compatibility of the thermostat with your HVAC system before making a purchase.
Step 2: Turn off the Power
Safety should be your top priority when working with electrical components. Start by turning off the power to your HVAC system at the circuit breaker. This will ensure that you don’t accidentally get electrocuted during the installation process.
Step 3: Remove the Old Thermostat
Now that the power is off, you can begin removing the old thermostat. Most thermostats have a cover that can be easily removed by unscrewing a few screws. Once the cover is off, you will see the wires connected to the thermostat. Take a picture of the wiring configuration for reference later. Carefully disconnect the wires from the old thermostat and remove it from the wall.
Step 4: Install the New Thermostat Mounting Plate
Next, you will need to install the new thermostat mounting plate. Follow the manufacturer’s instructions for your specific thermostat model. Typically, you will need to screw the mounting plate into the wall using the provided screws. Make sure the plate is level and securely attached.
Step 5: Connect the Wires
Now it’s time to connect the wires to the new thermostat. Refer to the picture you took earlier to ensure that you connect the wires correctly. Most thermostats have color-coded terminals, making it easier to match the wires. Gently insert each wire into its corresponding terminal and tighten the screw to secure the connection.
Step 6: Attach the New Thermostat
After the wires are connected, you can attach the new thermostat to the mounting plate. Follow the manufacturer’s instructions for your specific model. Some thermostats simply snap onto the mounting plate, while others require screws to secure them. Make sure the thermostat is level and securely attached to the mounting plate.
Step 7: Restore Power and Test
Once the new thermostat is securely installed, you can restore power to your HVAC system. Go back to the circuit breaker and turn the power back on. The thermostat should power on and display the current temperature. Test the thermostat by adjusting the temperature settings and ensuring that the HVAC system responds accordingly.
Step 8: Set up and Program
Now that your new thermostat is installed and working, it’s time to set it up and program it according to your preferences. Refer to the manufacturer’s instructions for guidance on how to connect the thermostat to your Wi-Fi network and download the accompanying app if applicable. This will allow you to control your thermostat remotely and take advantage of its advanced features.
In Conclusion
Installing a new thermostat in your home is a relatively simple process that can greatly improve your energy efficiency and comfort. By following these steps, you can upgrade your thermostat and start saving money on your energy bills. Remember to choose the right thermostat for your home, turn off the power before starting, and carefully follow the manufacturer’s instructions. Enjoy the convenience and cost savings of your new thermostat!


