
How to Repair a Leaking Roof?
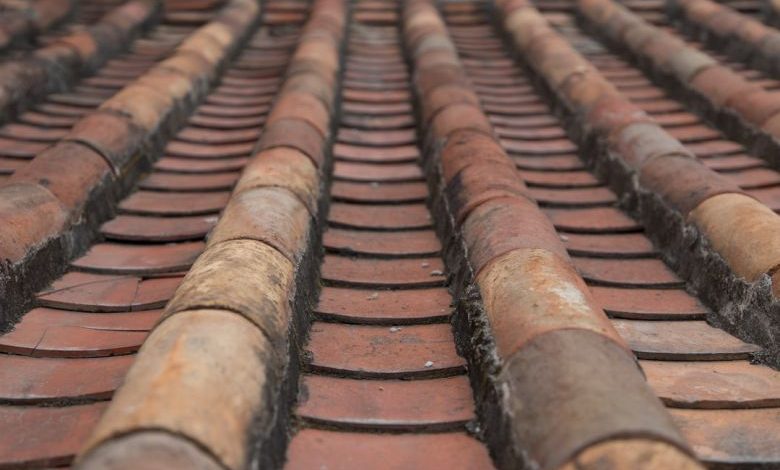
A leaking roof can be a homeowner’s worst nightmare. Not only can it cause damage to the interior of the house, but it can also lead to costly repairs if not addressed promptly. In this article, we will discuss the steps you can take to repair a leaking roof and prevent further damage.
Identifying the Source of the Leak
The first step in repairing a leaking roof is to identify the source of the leak. This can sometimes be a challenging task, as water can travel along the roof before entering the interior of the house. However, by inspecting the attic and looking for signs of water stains or mold growth, you can often pinpoint the general area where the leak is occurring.
Once you have identified the general area, it’s time to go up on the roof and conduct a closer inspection. Look for damaged or missing shingles, cracked flashing, or any other signs of wear and tear. It’s important to note that you should never attempt to repair a roof during wet or icy conditions, as this can be extremely dangerous.
Repairing Damaged Shingles
If you have identified damaged shingles as the source of the leak, you can start by removing the affected shingles. Use a pry bar to lift the shingles above the damaged ones, and then carefully remove the nails that hold the damaged shingles in place. Once the damaged shingles are removed, you can replace them with new ones. Be sure to use roofing cement to secure the new shingles in place and prevent future leaks.
Fixing Cracked Flashing
Flashing is the metal or rubber material that is used to seal the joints and edges of the roof. Over time, flashing can become cracked or damaged, allowing water to seep through. To repair cracked flashing, start by removing the old caulking or sealant with a putty knife. Once the old caulking is removed, apply a new layer of roofing sealant to the cracked area. Be sure to smooth out the sealant with a putty knife to ensure a watertight seal.
Replacing Damaged Vent Boots
Vent boots are the rubber coverings that are installed around plumbing vents on the roof. Over time, these boots can crack or deteriorate, leading to leaks. To replace a damaged vent boot, start by removing the nails that hold it in place. Once the old vent boot is removed, slide a new one into place and secure it with roofing nails. Finally, apply roofing cement around the edges of the boot to ensure a tight seal.
Preventing Future Leaks
Once you have repaired the source of the leak, it’s important to take steps to prevent future leaks from occurring. Regularly inspect your roof for signs of damage and address any issues promptly. Keep your gutters clean and free of debris to prevent water from backing up onto the roof. Trim any overhanging tree branches that could damage the roof during a storm. And finally, consider applying a waterproof coating to the surface of your roof to provide an extra layer of protection.
In conclusion, a leaking roof can be a major headache for homeowners. By identifying the source of the leak, repairing damaged shingles, fixing cracked flashing, and replacing damaged vent boots, you can effectively repair a leaking roof. Additionally, taking steps to prevent future leaks can help to prolong the lifespan of your roof and save you from costly repairs down the road. So don’t let a leaking roof get the best of you; take action and protect your home from further damage.