Step by Step: How to Maintain Your Power Drill
Power drills are essential tools for any DIY enthusiast or professional contractor. They can make drilling holes and driving screws a breeze, saving you time and effort. However, like any tool, power drills require regular maintenance to ensure they continue to function at their best. In this article, we will guide you through the step-by-step process of maintaining your power drill, so you can keep it in top condition for years to come.
1. Clean the Exterior
The first step in maintaining your power drill is to clean the exterior. Use a soft cloth or brush to remove any dust, dirt, or debris that may have accumulated on the surface. Pay special attention to the vents and switches, as these areas can easily clog up and affect the drill’s performance.
2. Check the Power Cord
Next, inspect the power cord for any signs of wear or damage. Look for frayed wires, exposed conductors, or loose connections. If you notice any issues, it is important to replace the power cord immediately to prevent electrical hazards.
3. Inspect the Chuck
The chuck is the part of the drill that holds the drill bit or driver bit in place. Regularly inspect the chuck for any signs of wear, such as loose or misaligned jaws. If you notice any issues, consult the user manual to learn how to tighten or replace the chuck.
4. Lubricate Moving Parts
To ensure smooth operation, it is important to lubricate the moving parts of your power drill. Apply a small amount of lubricant to the chuck, gears, and other moving components as recommended by the manufacturer. This will help reduce friction and extend the lifespan of your drill.
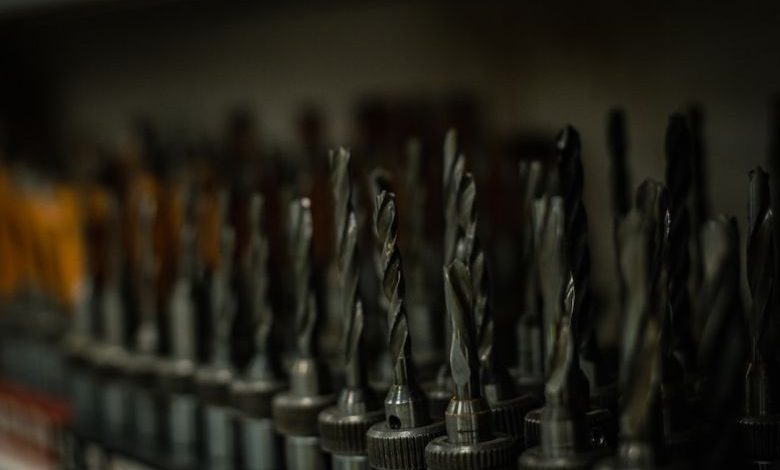
5. Clean the Chuck and Drill Bits
Over time, the chuck and drill bits can accumulate debris and residue from drilling. To clean the chuck, open it fully and remove any dirt or debris using a brush or compressed air. For the drill bits, use a wire brush or abrasive pad to remove any rust or buildup. This will not only improve performance but also prevent damage to your workpiece.
6. Check the Battery (If Applicable)
If your power drill is cordless, it is important to check the battery regularly. Inspect the battery for any signs of damage or corrosion. Clean the battery terminals using a cotton swab dipped in vinegar or a battery terminal cleaner. If the battery is not holding a charge as it should, it may be time to replace it.
7. Store Properly
Proper storage is crucial for maintaining your power drill. After each use, clean the drill and make sure it is dry. Store it in a cool, dry place away from moisture and extreme temperatures. Consider using a protective case or bag to prevent dust and damage.
8. Follow Safety Guidelines
Lastly, always follow the safety guidelines provided by the manufacturer. Wear appropriate safety gear, such as safety glasses and gloves, when operating the power drill. Avoid using the drill for tasks it is not designed for, as this can lead to damage or injury.
In conclusion, maintaining your power drill is a simple yet essential task that will prolong its lifespan and ensure optimum performance. By following these step-by-step guidelines, you can keep your power drill in top condition and enjoy years of reliable use. Remember, regular cleaning, lubrication, and inspection are key to the longevity of your power drill. Happy drilling!