
How to Create a Rain Garden?
Rain gardens are a beautiful and eco-friendly way to manage stormwater runoff. They not only help prevent erosion and flooding but also provide habitat for beneficial insects and birds. If you’re interested in creating a rain garden in your own yard, this article will guide you through the process step by step.
Choosing the Right Location
The first step in creating a rain garden is to choose the right location. Look for an area in your yard that receives a lot of runoff during heavy rainstorms. This could be a low-lying spot or an area where water tends to pool. Ideally, the location should be at least 10 feet away from your house to prevent water from seeping into your foundation.
Digging the Basin
Once you’ve chosen the location, it’s time to dig the basin for your rain garden. The size of the basin will depend on the amount of runoff you expect to receive. As a general rule of thumb, the basin should be about one-third the size of the impervious area that drains into it. For example, if you have a 300 square foot rooftop that drains into the rain garden, the basin should be approximately 100 square feet.
Creating Infiltration Trenches
In addition to the basin, you’ll also need to create infiltration trenches. These trenches will help water to percolate into the ground more efficiently. Dig the trenches in a star pattern, radiating out from the center of the basin. Each trench should be about 6 to 12 inches deep and 6 to 12 inches wide. The number of trenches you’ll need will depend on the size of your rain garden.
Amending the Soil
To ensure that your rain garden thrives, it’s important to amend the soil with organic matter. This will help improve drainage and provide nutrients for the plants. Mix compost or aged manure into the soil at a ratio of 1 part organic matter to 3 parts soil. Spread the amended soil evenly throughout the basin and trenches, making sure to break up any clumps.
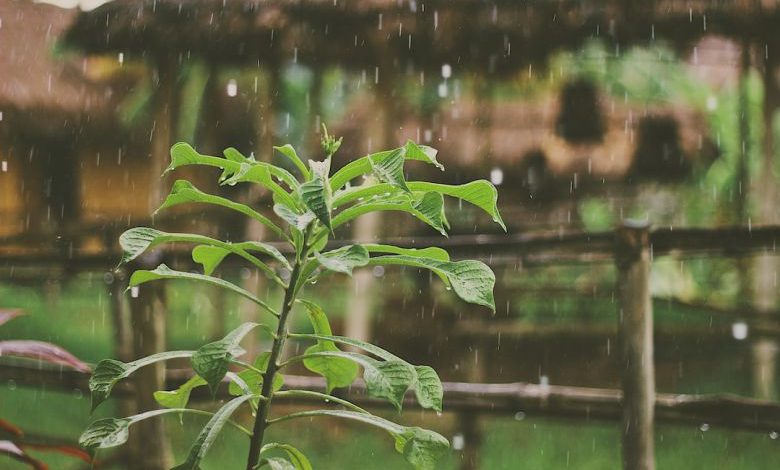
Choosing the Right Plants
Now comes the fun part – choosing the plants for your rain garden! When selecting plants, it’s important to choose species that can tolerate both wet and dry conditions. Native plants are generally the best choice, as they are adapted to the local climate and require less maintenance. Aim for a mix of grasses, sedges, and flowering perennials to provide both beauty and functionality.
Planting and Mulching
Once you’ve chosen your plants, it’s time to start planting. Dig holes that are slightly wider and deeper than the root balls of the plants. Place the plants in the holes, making sure that the top of the root ball is level with or slightly above the soil surface. Backfill the holes with soil, firming it gently around the roots.
After planting, apply a layer of mulch around the plants. Mulch will help conserve moisture, suppress weeds, and regulate soil temperature. Organic mulches, such as wood chips or shredded leaves, are the best choice for rain gardens.
Maintaining Your Rain Garden
While rain gardens are relatively low maintenance, they do require some care to thrive. Water your rain garden regularly during the first year to help the plants establish deep roots. After that, they should be able to withstand normal rainfall. Remove any weeds that may appear, as they can compete with the native plants for water and nutrients.
Conclusion
Creating a rain garden is a rewarding way to make a positive impact on the environment. By managing stormwater runoff in your own yard, you can help protect local waterways and provide habitat for wildlife. With the steps outlined in this article, you’ll be well on your way to creating a beautiful and functional rain garden of your own. So grab your shovel and get started today!